Painted glass works best when the design, paint formula and care plan belong together. A flower on a display vase and a pattern on a drinking glass may look similar, but the objects have different contact areas and handling needs. Decide how the piece will be used before planning the pattern.
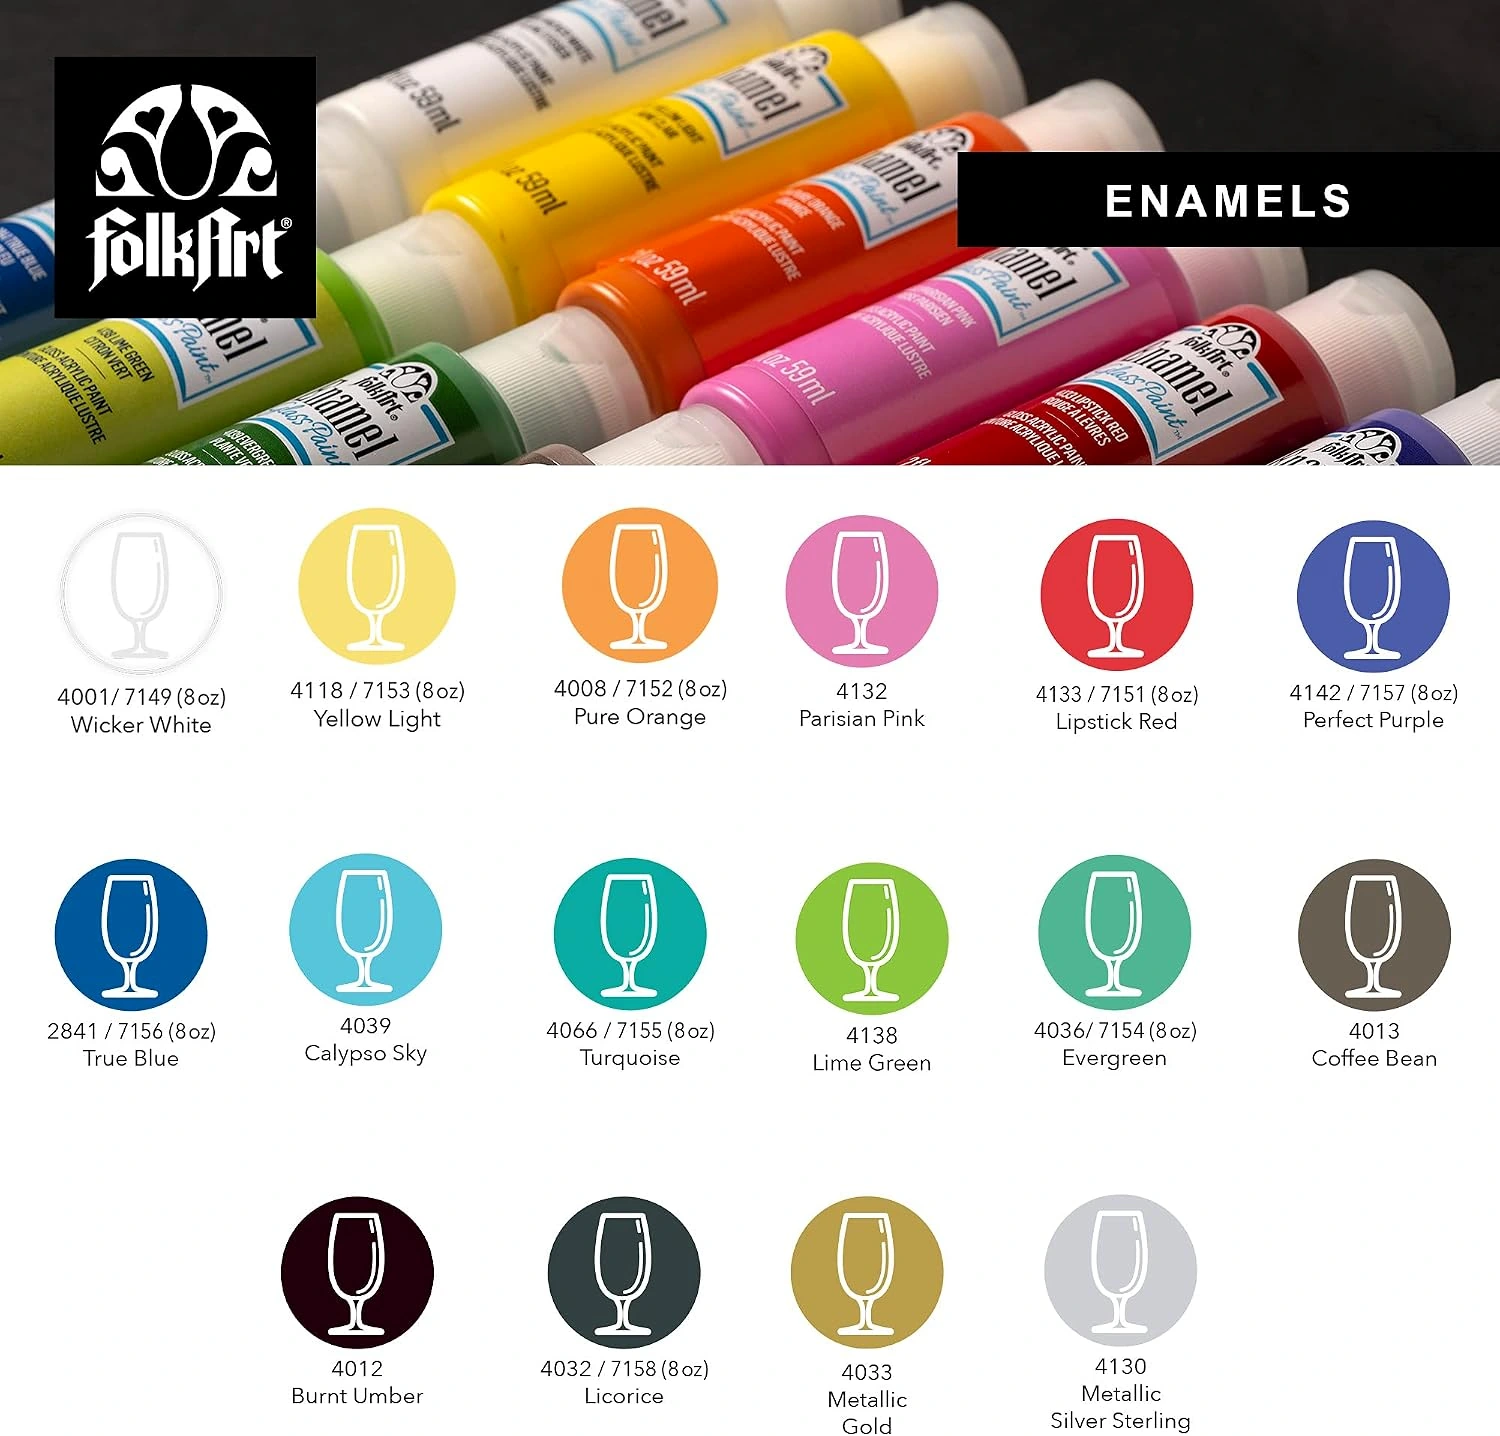
Our FolkArt Enamels collection offers a glossy finish for glass and glazed ceramics. This guide helps you plan a modest first project, prepare a clean painting area, control small marks and choose a curing route. It also explains what a product photograph cannot tell you: the suitability of your own glass object, the precise instructions on your bottle, or whether an unknown thrifted piece can safely go into an oven.
1. Choose an object you can identify and handle
Start with a sound object whose material and intended use you understand. Inspect the rim, base and body for chips or cracks before cleaning or decorating. If you find damage, choose another practice piece. Painting over a defect will not make the glass stronger, and a pattern can make it harder to notice that defect later.
Look at the shape as a painting problem. A straight-sided vase offers room for a repeating band; a narrow neck can make it awkward to reach inside or support the object. A curved drinking glass changes the apparent spacing of a design as you turn it. Consider how you will hold the piece without touching fresh paint, then rehearse that movement while it is empty and dry.
For a first attempt, choose a small amount of decoration rather than a complete opaque covering. An exterior cluster of dots or leaves lets you learn how much paint the brush carries and how the curved surface changes a stroke. A large solid band asks for a more consistent application over a much wider area.
Keep valuable, antique or unfamiliar glass out of the practice pile. An unknown object's history can leave unanswered questions about coatings and heat tolerance. If its maker does not establish oven suitability, do not use baking as a shortcut. Choose a compatible air-curing approach under the paint instructions or a different object.
2. Match the formula to the project
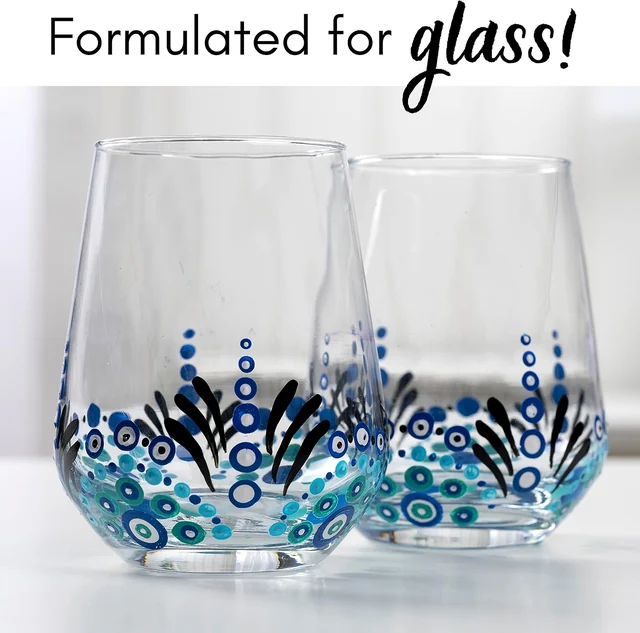
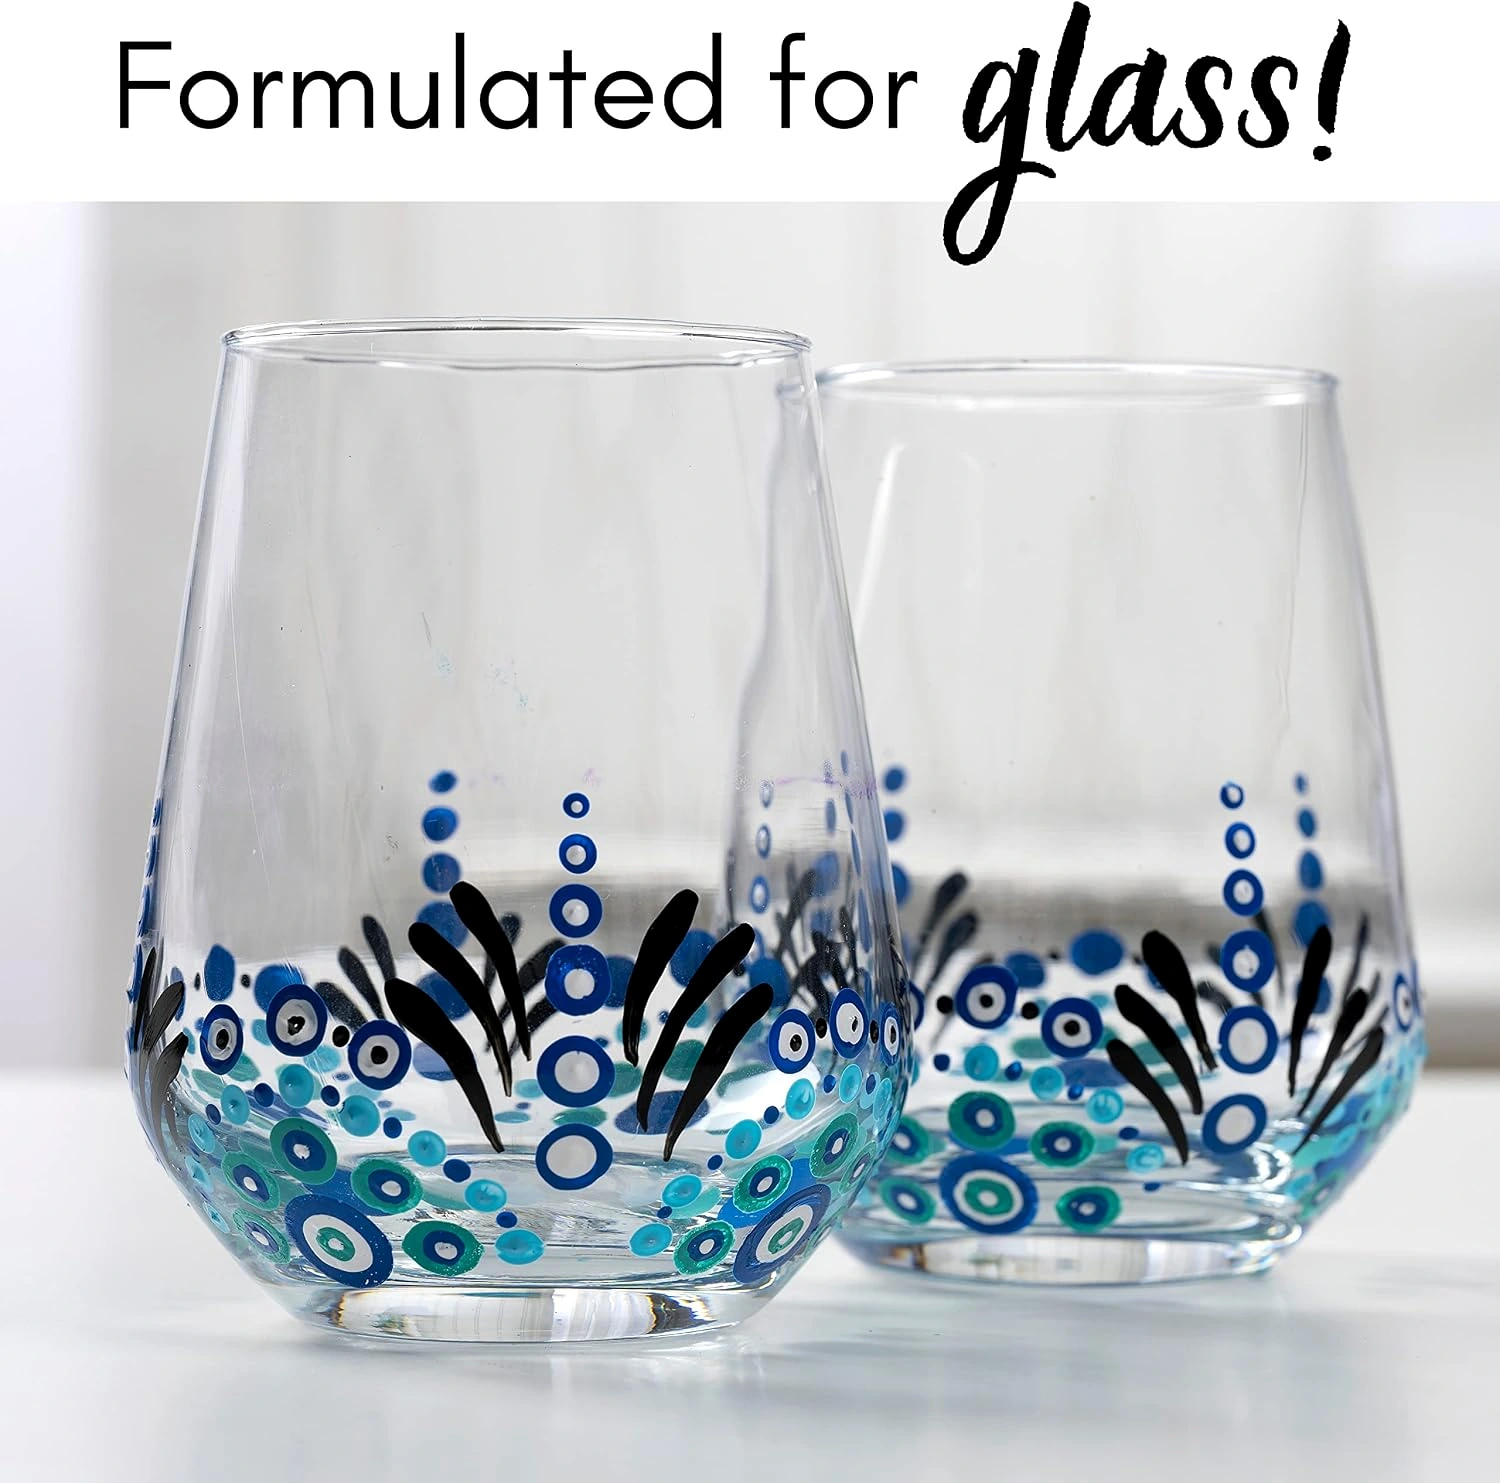
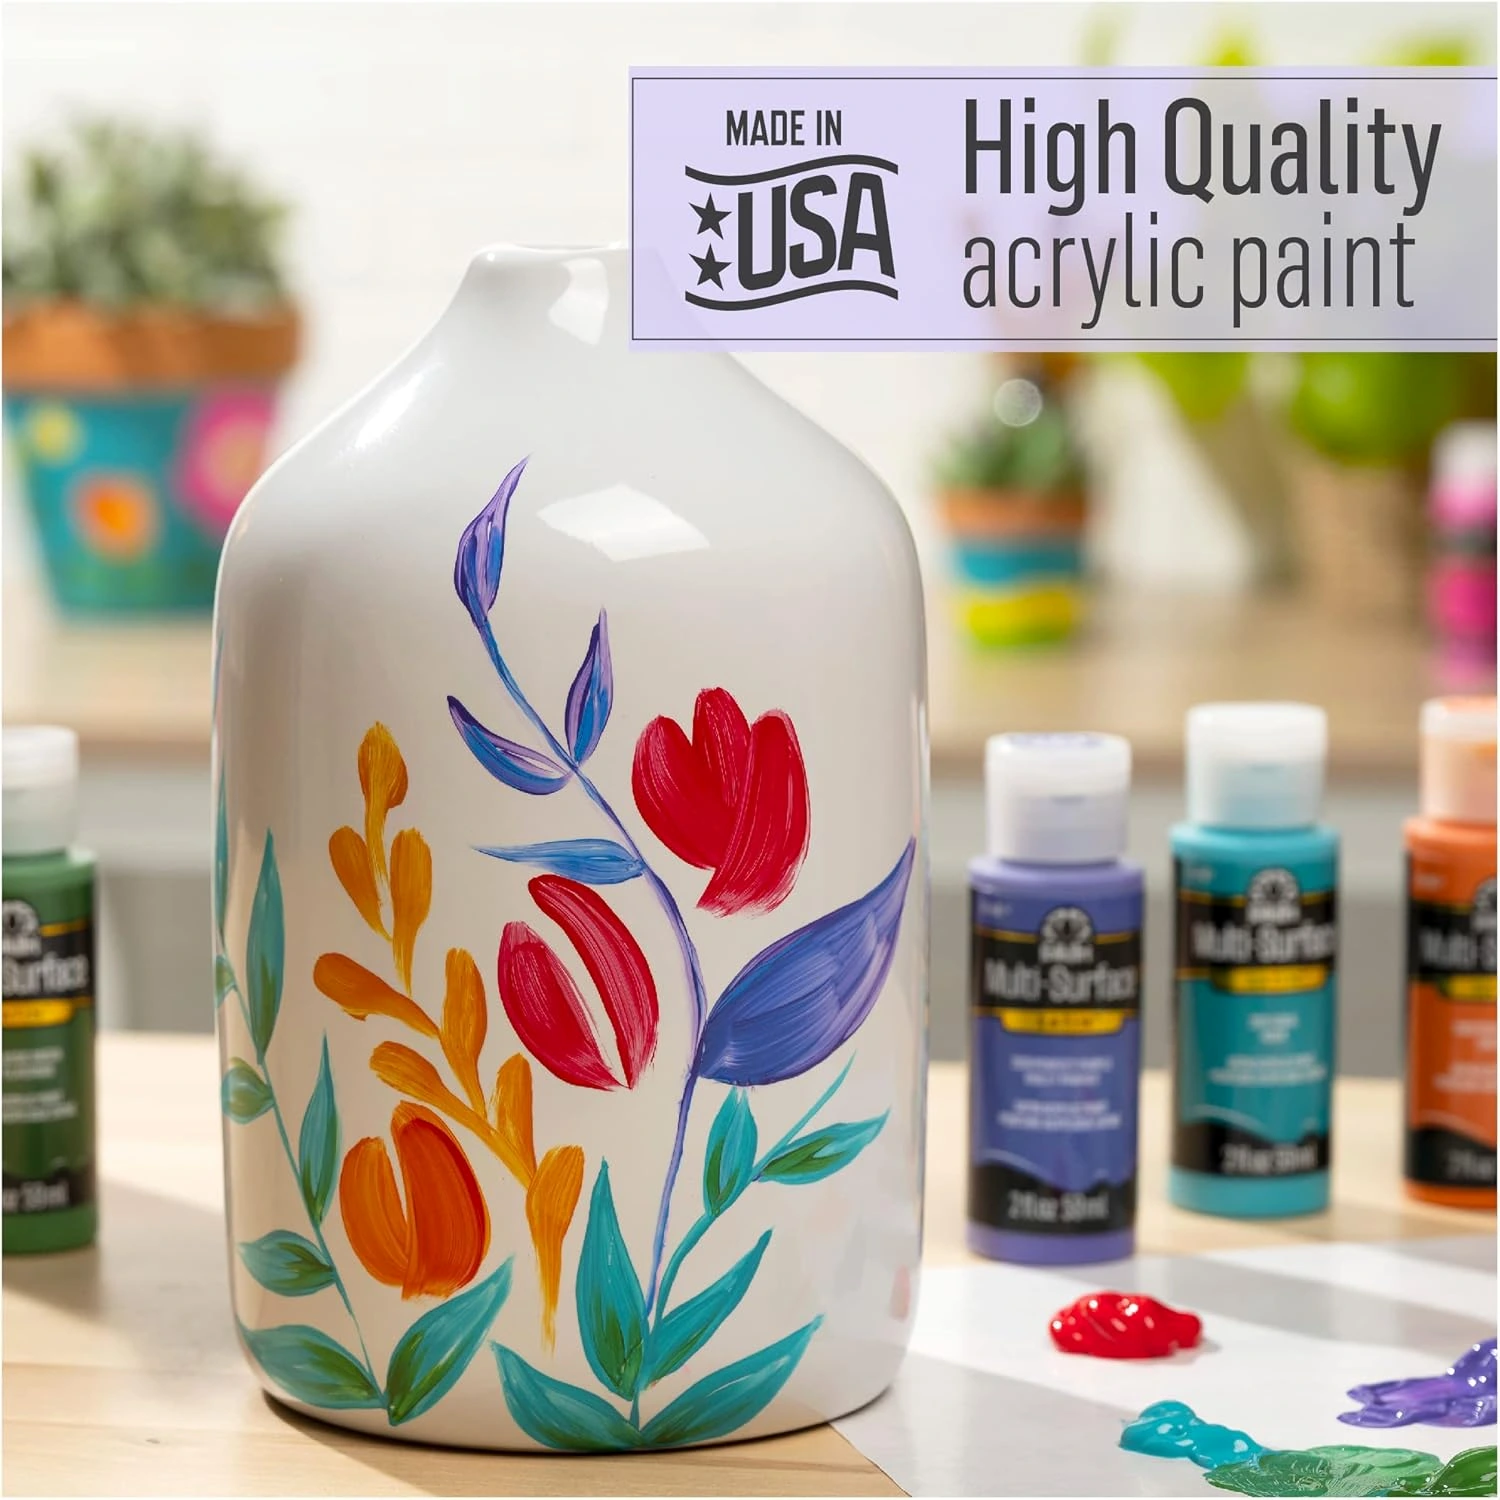
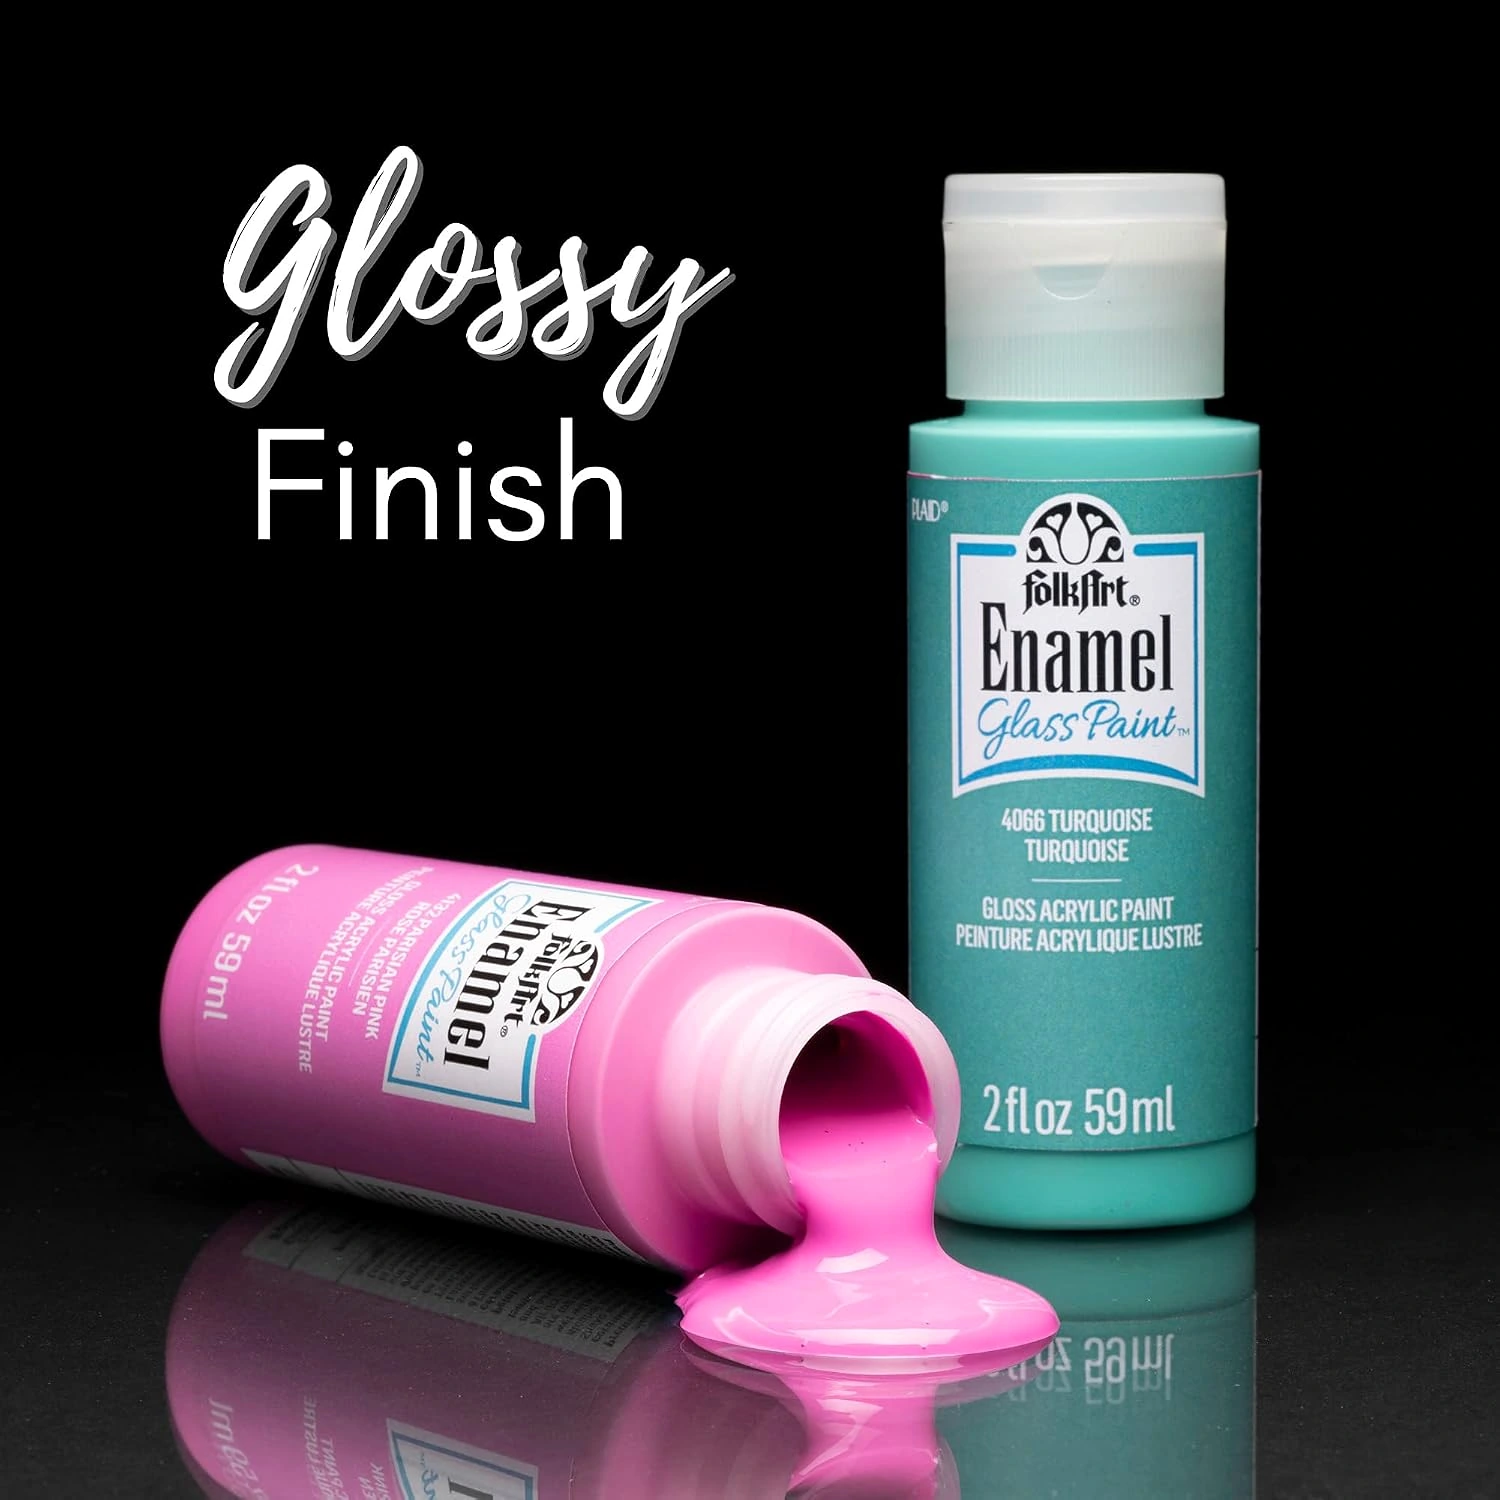
Enamels and Multi-Surface are separate FolkArt formulas. Enamels is intended for glass and glazed ceramics and gives a glossy appearance; the Multi-Surface selection in our catalog has a satin finish. Decide which appearance you want, then read the directions for that exact formula. A matching color name does not make two bottles interchangeable.
The 16-color Enamels set gives you a range for decorative glass work. Compare the pictured pack and selected contents when ordering. If you are planning related objects made from several different materials, examine the 12-color Multi-Surface set separately. Its suitability for several surfaces does not remove the need to check each one.
A coating's finish and its transparency are different properties. Gloss describes reflected light; it does not promise a transparent stained-glass effect. If your goal is to see clearly through a colored area, verify the intended effect before purchasing. Make a sample on a suitable practice object rather than inferring transparency from a glossy product photograph.
On a small screen, swipe the table sideways. With a keyboard, focus the table and use the arrow keys.
| Project goal | Catalog starting point | Decision to verify |
|---|---|---|
| Glossy decoration on glass | FolkArt Enamels | Glass compatibility and exact cure directions |
| Satin decoration across several materials | FolkArt Multi-Surface | Instructions for each individual surface |
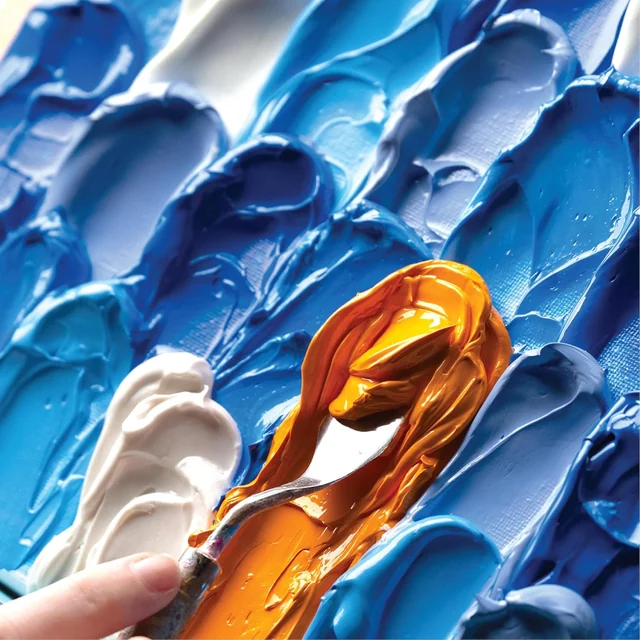
| A rough pottery-like exterior | FolkArt Terra Cotta | Decorative use and care, not Enamels curing |
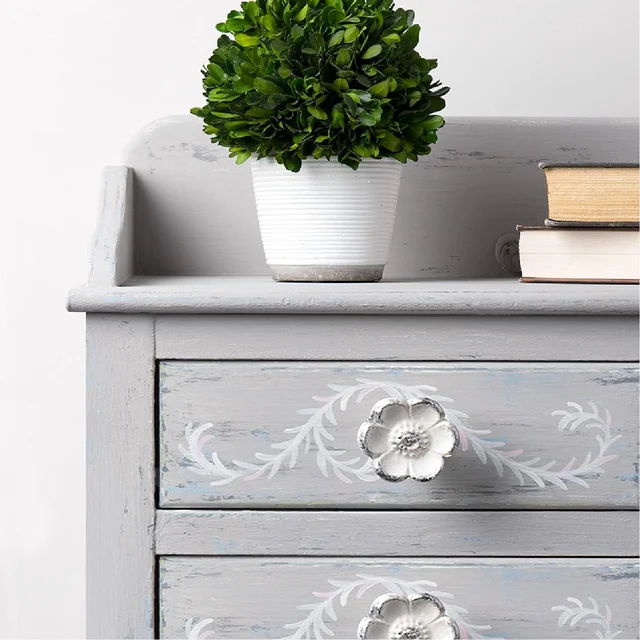
| A matte furniture finish | Home Décor Chalk | A separate indoor furniture workflow |
3. Draw a pattern that belongs on the shape
Wrap a strip of paper around the widest area you plan to decorate. Mark where it meets itself, then draw a simple layout while the paper is flat. This planning strip helps you judge how a repeated motif will meet at the back. Keep it outside the glass only for planning; remove it before cleaning and painting that surface.
For a transparent straight-sided object, a separate paper drawing placed inside can provide a visual guide through the glass. Remember that the thickness and curve of the glass can shift what you see. Stand or sit in a consistent position while making a mark, and turn the object rather than stretching the brush around an unseen corner.
Choose one dominant motif and one supporting mark. For example, three larger leaves can establish a cluster, with a few small dots joining the spaces. Leave clear glass between clusters so the shape remains visible. A dense drawing on flat paper may feel crowded once both the front and back patterns show through the object.
Test the outline at the actual display distance. A tiny detail that looks lovely from six inches away may disappear across a table. Conversely, a very dark outline can dominate a small glass. Reduce the palette before reducing every shape to miniature size. A restrained design can be easier to repeat consistently across a pair of objects.
4. Reserve the areas that should stay unpainted
Mark the painting boundary in your plan, not as an afterthought. Plaid's glass painting instructions keep decoration away from food and drink contact and advise leaving about an inch of an ordinary drinking-glass rim clear. Also consider where hands, lips, a lid or a utensil could touch during normal use. If the object cannot accommodate a suitable clear area, make it display-only or choose another piece.
On a vase, think about both the exterior decoration and the way water will be added and emptied. A design around the lower outside is different from coating the entire interior. Keep your plan limited to the intended decorative surface. A paint described as suitable for glass is not, by that fact alone, a waterproof lining for a container.
Do not assume a clear finish will make an unsuitable painted contact area acceptable. Every added product has its own use restrictions. If the intended project needs certified food-contact performance, choose a system specifically established for that application rather than adapting this decorative craft workflow.
5. Create a clean surface and a clean workflow
Wash away ordinary dirt and residue, rinse appropriately and allow the object to dry. Follow the paint directions for any final cleaning step. Plaid's glass guide includes an alcohol or white-vinegar wipe and drying before painting. Keep cleaning products away from paint containers, and do not mix cleaners to create an improvised preparation solution.
Once prepared, handle the glass by an area outside the design. A folded clean cloth or a stable support can help you turn it without gripping the painting zone. Check that the support cannot tip when you lift the brush away. A comfortable working height matters: a tense grip on a slippery object makes precise painting more difficult.
Lay out separate spaces for the unpainted piece, active work and finished wet work. Keep a small practice surface beside the palette so you can check a loaded brush before touching the object. If you need to answer a phone or move something, put the piece down first. Returning with cleaner hands is better than trying to keep working while distracted.
Adhesive labels and price stickers can complicate preparation. Remove them with a method suitable for the object, then address any remaining residue under the relevant cleaning directions. A surface that looks clear from one angle may still carry a patch that becomes visible under side lighting. Inspect it before the first painted mark.
6. Practice three marks before building a pattern
Make a line, a rounded dot and a short leaf-shaped stroke on a suitable practice surface. These simple marks reveal different things: the line shows how steadily the brush travels, the dot shows the amount of paint being deposited, and the leaf shows how pressure changes a shape. Repeat each several times before combining them.
For a line, turn the practice object so your hand can move naturally. For a dot, begin with a small load and lift away consistently. For a leaf, compare a short stroke with a longer one and notice which scale fits the planned design. You are learning the relationship between your hand, brush and paint, not trying to reproduce a printed example exactly.
Keep the bottle directions nearby while deciding when to add another coat or color. Do not use a generic craft-acrylic drying estimate for every glass-paint formula. If an earlier mark starts moving when touched with the next color, pause instead of brushing harder. The result may need more time, a different loading technique or a simpler sequence.
Record the brush and method that produce your favorite mark. If the project involves two matching glasses, use the same setup for both rather than finishing one completely and trying to reconstruct the process days later. Work within the label's drying requirements while keeping the decisions consistent.
7. Build the design in manageable passes
Place the largest elements first, keeping enough open space for the smaller marks. Turn the object after each group so you can see how the pattern continues around it. Check the back view as well as the front; on transparent glass, the two sides can visually overlap even when they are physically separate.
Work on one accessible area at a time. Avoid setting a newly painted side against a towel or support, which can leave marks or transfer fibers. If the next section cannot be reached without contacting wet paint, stop at a natural break in the design. A repeated motif is useful because each cluster can become a deliberate stopping point.
Leave tiny variations alone when they suit the design. A handmade floral band does not need identical leaves, but its scale and spacing should feel intentional. If you want stricter geometry, devote more planning to alignment before painting. Do not expect repeated corrective strokes over a partly drying line to behave like drawing with a pencil.
Consider reverse painting only when you understand how the viewing direction changes the order. Details intended to appear in front may need to be applied before the background. Practice on a separate suitable object and keep the contact-area restrictions intact. Reverse painting is a layout technique, not an exemption from the paint's use and care instructions.
8. Separate drying from curing
A piece that feels dry enough to handle has not necessarily completed the process required for use and washing. Read the cure instructions before starting the project so you can reserve the necessary time and space. Put a small note beside the drying object that identifies the formula and the stage it has reached.
Plaid's published glass guide gives two routes for Enamels and Multi-Surface: 21 days of air curing, or a baking method. Its baking sequence uses a cool oven, 350°F for 30 minutes, cooling inside the switched-off oven and a further 72-hour wait. Follow the current bottle directions for your exact product, including pre-bake drying. Only use the baking route when the object itself is confirmed oven-safe.
“Do not preheat the oven.”
— Plaid, How to Paint Glass
Do not generalize these instructions to glitter, wax, Terra Cotta or every paint in the FolkArt catalog. Added embellishments, glued parts, lids and other materials can introduce additional restrictions. If your combination does not have a clear supported curing route, simplify the project or ask product support before proceeding.
On a small screen, swipe the table sideways. With a keyboard, focus the table and use the arrow keys.
| Question | If yes | If uncertain |
|---|---|---|
| Does the exact paint label support the method? | Follow its complete sequence | Find the current instructions first |
| Is the whole object confirmed oven-safe? | Check all remaining baking conditions | Do not bake it |
| Can the object remain undisturbed? | Reserve a protected drying location | Reorganize the workspace before painting |
| Is it a gift with a fixed deadline? | Work backward from the full cure period | Choose a later handover date or another project |
9. Write care instructions while the formula is in front of you
Keep a simple care card with the finished piece, particularly if somebody else will use it. Record the paint formula and its completed curing method, then summarize the relevant label instructions in plain language. Do not write “dishwasher safe” merely because a similar-looking bottle or gallery image uses that phrase.
Plaid's glass guide permits gentle washing after the appropriate cure and identifies top-rack dishwasher use for the formulas it discusses. It also rules out microwave use and prolonged soaking. Those conditions belong together; selecting one favorable claim while omitting the restrictions gives the recipient an incomplete care plan.
“Do not soak painted items in water.”
— Plaid, How to Paint Glass
For a decorative vase, explain which parts are painted and how you intend it to be cleaned. If the object is display-only, say so directly. Keep the care note short enough to retain with the item. A useful note answers what the recipient can do, what they should avoid, and which formula's directions to consult.
10. Troubleshoot one observation at a time
If paint pulls into isolated patches, stop and review surface preparation before adding more. Consider residue, fingerprints and any unknown existing coating. Compare with a clean practice area prepared using the same instructions. A second uncontrolled layer may hide the symptom temporarily without helping you understand why the first layer behaved differently.
If a line looks ragged, check the position of your hand and the shape of the glass. You may be reaching around a curve rather than turning the object, or using a brush that is too large for the line. Practice the same mark at a comfortable angle before changing the paint itself. Change one part of the method at a time so the comparison means something.
If a finished design damages during washing, review the complete chain: preparation, formula, layer drying, cure and actual care. Do not automatically shorten a new project's cure because the last one felt dry sooner. Keep a photo and the label information when asking for help. Those details support a more useful answer than a general claim that glass paint peels.
11. Plan pairs and gift batches without losing track
For a pair of vases or a small gift set, make one practice layout before decorating every object. Number the pieces on a temporary note kept beside them, not on the painted area. Record the stage of each piece, particularly if one needs an extra coat or a correction. Similar objects are surprisingly easy to confuse during a busy session.
Repeat a limited palette while allowing one small variation in the motif. This creates a related set without requiring you to reproduce every stroke. For example, use the same three colors and spacing around each vase while changing the direction of a leaf cluster. Photograph the first arrangement so later pieces have a clear reference.
Package only after the complete drying and curing requirements have been met. Avoid using a tight wrap as a test of whether a finish is ready. Include the care card and leave painted details protected from rubbing against another object in the box. A thoughtful handover includes the information needed to keep the decoration looking as intended.
Browse glass and enamel paints when the object and method are decided. If a related project needs a pottery-like exterior instead, continue with our texture guide. For a painted wooden display shelf, the chalk furniture guide covers the separate preparation and finishing workflow. Keeping those methods distinct is what lets a coordinated group of objects remain practical as well as colorful.